Knocking Down Walls Between Kitchen & Dining Room - A Complete Guide
Many homeowners dream of a spacious, open concept kitchen that seamlessly flows into an adjoining dining area. Removing the wall dividing these two rooms can help improve natural light, open up sightlines, allow better circulation, and create a lighter, more modern feel.
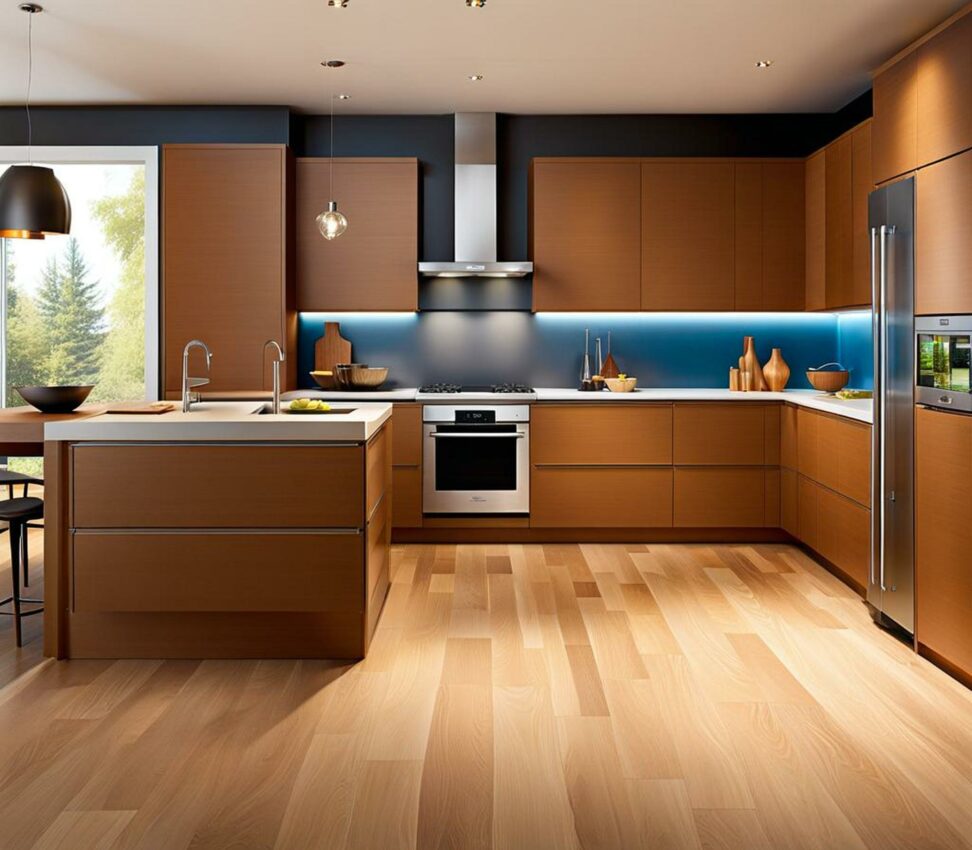
Transforming your closed off kitchen and dining room into one large, open gathering space is a major renovation project, but the results can be well worth it.
Planning Your New Open Concept Kitchen
The first step is to think about how you want the updated kitchen and dining space to look and function. Evaluate your current layout and workflow to decide if and where you need to relocate appliances, sinks, and countertops in the new open floor plan.
Consider where you want to place an island or peninsula to delineate the two zones while still keeping the free flow. Also think about cabinetry design, finishes, lighting, and flooring that will visually tie the whole area together.
Hiring an architect or kitchen designer to draft some layout options is highly recommended. They can ensure your ideas are feasible and account for all the technical requirements.
Picking the Right Professionals
This major structural renovation requires expertise to execute properly. Be sure to research and vet general contractors, architects, and engineers before hiring them for the project. Look for demonstrated experience with kitchen remodels and wall demolitions.
Creating a Budget
Removing a wall and fully renovating two rooms is a significant investment. Get quotes from several contractors and expect costs typically ranging from $15,000 to $30,000 depending on your kitchen size and project scope.
Structural Considerations for Removing Walls
Determining if the wall between your kitchen and dining room is load bearing is crucial. Load bearing walls support the weight of the structure; removing them requires special modifications to redirect the weight.
Have a structural engineer analyze the site plans and inspect the attic and basement areas to identify whether it's load bearing. If so, a beam will need to be installed to properly support the floor joists or roof rafters above.
Ventilation and Utilities
The kitchen wall likely contains important electrical, plumbing, and HVAC systems servicing both rooms. These will need to be relocated and reconfigured after demolition.
Meeting Building Codes
There are strict protocols related to structural changes. The contractor will ensure the work meets the current building codes and standards in your area.
Permits and Inspections for Wall Removal
Any major structural renovations require permits from your local building department before getting started. The contractor will submit the necessary documents and drawings outlining the planned work.
Expect at least three inspections from the building inspector at stages like:
- Framing inspection after the wall is removed
- Electrical, plumbing, and mechanical inspection
- Final inspection when the project is complete
Completing the permitting process is essential for a legal and safe renovation. Failing to get permits can also cause issues with your homeowners insurance if problems arise down the road.
Preparing the Space Before Knocking Down the Wall
To get ready for demolition day, start by removing furniture, art, and accessories from the kitchen and dining room. Pack up dishes and clear countertops. Uninstall cabinets, sinks, and appliances that are on the walls coming down.
Protect floors, sections of countertops, and any walls that will remain with heavy plastic sheeting. Turn off electricity and gas supplying these rooms.
Provide temporary structural support by installing braces or posts under ceiling and floor joists that will be affected. This helps stabilize the rest of the home during demolition.
Safety Gear
Wear proper safety goggles, gloves, dust mask, ear protection, and clothing that covers skin to stay safe throughout the demolition process.
Knocking Down the Wall: Step-By-Step
Once the prep work is complete, it’s time for the messy but gratifying task of taking down the wall.
For load bearing walls, install a temporary support beam above before starting demolition. Take extra care not to impact structural elements within the wall.
Framing the New Opening After Wall Removal
With the old wall gone, it’s time to frame in the new open passageway. This usually involves:
- Installing a header beam sized by the engineer to span the full width
- Adding short studs called cripple studs above and below to support header
- Attaching jack studs and king studs on both ends to support the weight
- Including extra studs for kitchen cabinet installation later
The framing creates a safe, finished opening following structural code requirements. The pros will make this complex step look easy.
Finishing Touches After Removing the Kitchen Wall
With the framing complete, it’s time to put your open concept kitchen and dining room back together with the final renovations:- Installing new kitchen cabinets, countertops, sinks, and appliances
- Hanging new light fixtures to illuminate the whole space
- Finishing drywall seams, applying primer, and painting
- Replacing flooring throughout the rooms
- Adding trim, backsplash, and other decorative finishes
After weeks of construction, dust, and debris, seeing your beautiful finished kitchen and dining room become one will make it all worthwhile. Enjoy entertaining in your fresh, open concept space!
Be aware that removing a wall between rooms can create new challenges like noise transmission. But with careful renovation techniques and proper insulation, your open concept will work beautifully for years to come.
Knocking down the wall between your kitchen and dining area takes strategic planning, permits, professional skills, and diligent work. But take it from homeowners who have completed this exciting project - the results are well worth it. A spacious, unobstructed kitchen/dining space makes cooking, eating, and entertaining activities feel seamless and fun.