How to Install Upper Kitchen Cabinets Yourself and Avoid Costly Mistakes
Installing upper kitchen cabinets can transform the look and utility of your kitchen. But improper installation can lead to uneven cabinets, gaps between walls, and even dangerous instability if not anchored correctly. Avoid headaches down the road by learning how to install upper cabinets properly in your kitchen remodel or upgrade.
With some basic DIY skills, the right tools, and this comprehensive guide, you can install sturdy, level cabinets on your own. We will walk through the full process step-by-step, from planning your layout to mounting your new uppers securely on the wall. Follow these tips and techniques to maximize your storage space with a stunning, professional-looking upper cabinet installation.
Prepare Your Kitchen for Installation
The preparation phase is crucial for ensuring your upper cabinet installation goes smoothly. First, finalize your cabinet selection, taking accurate measurements of your kitchen. Then gather supplies and map out stud locations so you can safely and securely mount the cabinets later.
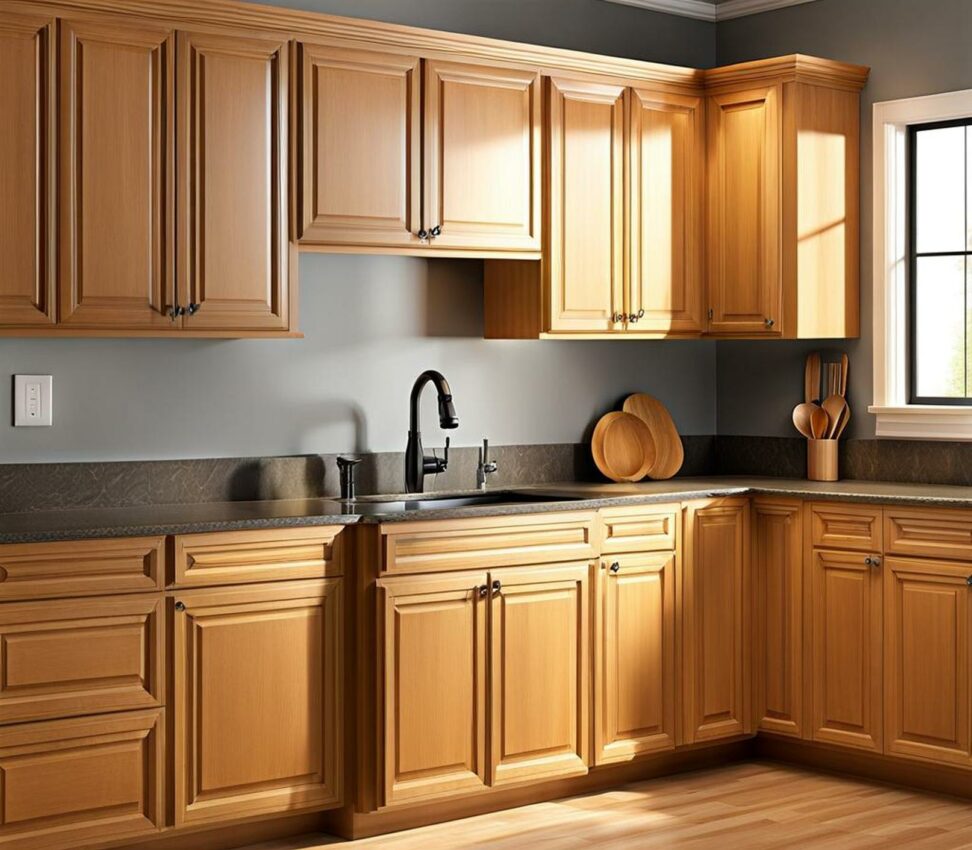
Select Cabinets to Match Your Kitchen's Layout
Choose upper cabinets after you have picked out your lower cabinets, as the uppers will be installed based on the position and height of the lowers. Consider cabinet dimensions, organizing features like drawers or shelves, and aesthetics like door style and finish.
Stock cabinets available at home improvement stores offer affordability and quick shipping. Or opt for custom-built cabinets designed for your exact kitchen layout if you want a more tailored look and functionality.
Order a few extra upper cabinets when doing your initial purchase. Having spare cabinets on hand makes it easy to expand or adjust your layout later on.
Plan Cabinet Placement and Measure Carefully
Map out the placement of all upper cabinets on paper first, accounting for proper height and spacing. Standard guidelines are:
- Height - 18 inches above countertops to bottom of cabinet
- Spacing - 12 to 15 inches between cabinet sides
Take exact measurements of your walls and ceilings to configure the cabinet layout. Look for any obstructions like pipes or windows that could impact placement.
Identify the stud locations using a stud finder so you know the strongest points to anchor the cabinets later. Mark their positions with painter's tape on the walls.
Gather Your Installation Supplies
Having the right tools and hardware on hand will make installing your upper kitchen cabinets much easier. Essential supplies include:
- Tape measure
- Stud finder
- 4-foot level
- Power drill and drill bits
- Screws for mounting (2 1/2" to 3")
- Wall anchors if needed
- Ladder or step stool
Hanging the Upper Cabinets on the Wall
Now comes the most hands-on part of the process - safely lifting the cabinets into position and securely fastening them to the wall. Take care to keep the cabinets level and plumb as you work.
Install Mounting Rails for Each Cabinet
Mount sturdy wooden rails along the wall studs first. These rails, also called cleats, provide anchor points to hold the weight of the cabinets.
Position each rail level horizontally, and drive multiple screws into the wall studs. This keeps the rails square and anchored firmly to hold the cabinet load.
Lift Cabinets and Fasten Securely to Rails
Have a helper assist with lifting each upper cabinet into place once the rails are installed. Position the cabinet on the cleats, centered and pressed tight to the wall.
Insert screws through the cabinet back/frame into the rails to create a sturdy mounted bond. Go slowly to avoid cracking the cabinet or knocking it out of position.
Check for level and plumb. Make any necessary adjustments before the final screw tightening to ensure proper cabinet alignment.
Fill Any Gaps Around the Cabinets
Minor gaps may be present where the wall meets the cabinet sides or top. Fill these using caulk and small trim pieces to give your installation a seamless look.
Take care not to force or warp cabinets when caulking, which can throw off door alignment. Keeping cabinets level as you mount them prevents most gaps.
Complete Your Cabinet Installation
With the cabinet boxes firmly installed, shift your focus to the doors, shelves, and other elements that will bring your new upper cabinets to life.
Add Cabinet Doors, Drawers, and Interior Fittings
Mount any cabinet doors, checking that they are centered and operate smoothly. Install drawer slides, shelves, and other interior fittings per the manufacturer's instructions.
Make alignment adjustments as needed - catches, hinges, and screws can be slightly tweaked post-install for proper door closure and function.
Hide visible mounting screws using screw caps or false panel strips to give your uppers a clean, integrated look.
Wipe down the cabinet exteriors once finished, and do a final check that they all appear square, plumb, and visually appealing.
Step back and admire your successfully installed upper kitchen cabinets! Proper planning and following these techniques will allow you to create a functional, customized kitchen cabinet layout.